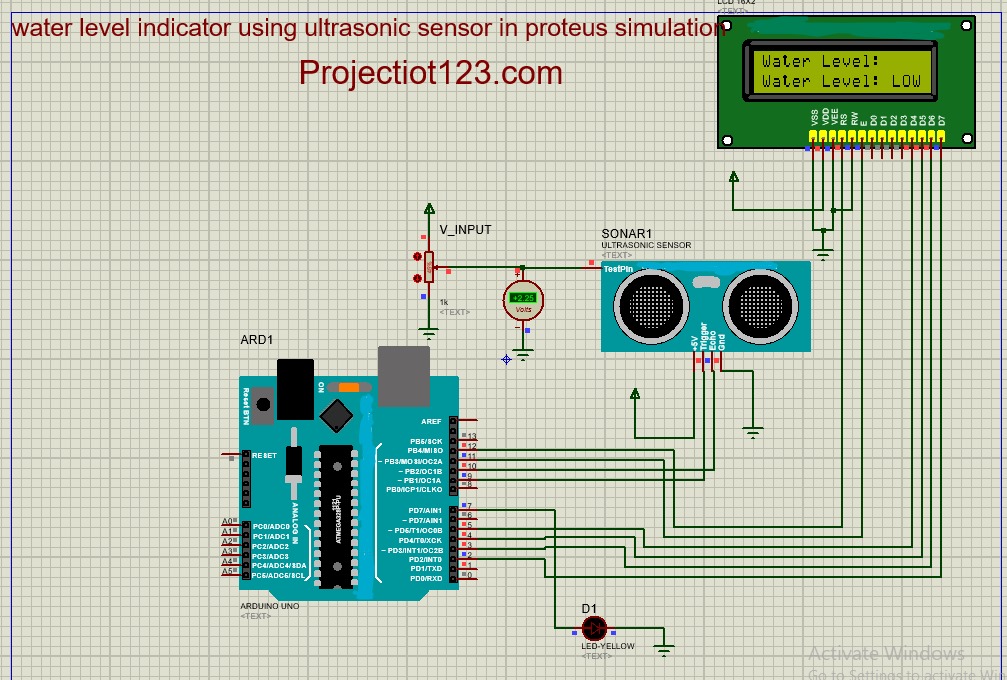
Water level indicator using Ultrasonic sensor in proteus
Water level indicator using Ultrasonic sensor in proteus
In this article we will learn how to Interface water Level indicator using Ultra sonic sensor in proteus simulation.
In the last post we will learn how to Interface Water sensor with Arduino UNO in proteus simulation. You can visit our website,
I hope you appreciate my work, let’s discuss about today’s project.
Components:
- Arduino UNO
- Sonar sensor
- LCD display
- Resistor variable
- Volt meter
- Jumper wires
Construction…
- Connect Trigger pin of Sonar sensor with pin 9 of Arduino Uno
- Connect Echo pin of Sonar sensor with pin 10 of Arduino Uno
- Connect +5V pin of Sonar sensor with +ve
- Connect GND pin of Sonar sensor with GND
- Connect RS pin of LCD display with pin 12 of Arduino Uno
- Connect E pin of LCD display with pin 11 of Arduino Uno
- Connect pin 7 of Arduino Uno with +ve side of LED
- Connect –ve side of LED with GND
- Connect VSS, VEE, and RW pins of LCD display with each other and then connect them with GND
- Connect VDD pin of LCD display with +ve
- Connect pin 5 of Arduino with D4 pin of LCD display
- Connect pin 4 of Arduino with D5 pin of LCD display
- Connect pin 3 of Arduino with D6 pin of LCD display
- Connect pin 2 of Arduino with D7 pin of LCD display
- Connect test pin of Sonar sensor with signal pin of Resistor variable through +ve terminal of Voltmeter
- Connect –ve side of Volt meter with GND
- Connect collector pin of variable with +ve
- Connect Ammeter pin of variable with GND
Hardware image…
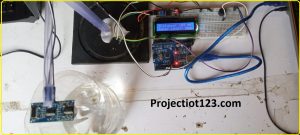
Working…
A water level indicator using an ultrasonic sensor is a simple and effective way to measure the level of water in a tank or container. Ultrasonic sensors work by emitting high-frequency sound waves and measuring the time it takes for those waves to bounce back after hitting an object.
Applications…
- Agriculture
- Industrial Processes
- Environmental Monitoring
- Home and Residential Use
- Water Treatment Plants
Advantages…
- High Accuracy
- Wide Range
- Continuous Monitoring
- Low Maintenance
- Easy Installation
Program code images…
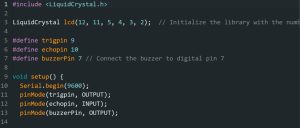
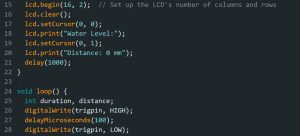
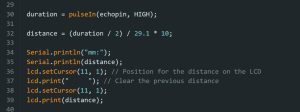
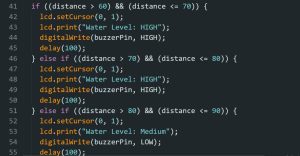
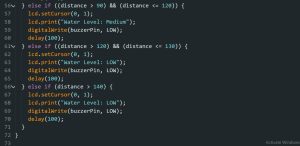
Program code…
[dt_code]
#include <LiquidCrystal.h>
LiquidCrystal lcd(12, 11, 5, 4, 3, 2); // Initialize the library with the numbers of the interface pins
#define trigpin 9
#define echopin 10
#define buzzerPin 7 // Connect the buzzer to digital pin 7
void setup() {
Serial.begin(9600);
pinMode(trigpin, OUTPUT);
pinMode(echopin, INPUT);
pinMode(buzzerPin, OUTPUT);
lcd.begin(16, 2); // Set up the LCD’s number of columns and rows
lcd.clear();
lcd.setCursor(0, 0);
lcd.print(“Water Level:”);
lcd.setCursor(0, 1);
lcd.print(“Distance: 0 mm”);
delay(1000);
}
void loop() {
int duration, distance;
digitalWrite(trigpin, HIGH);
delayMicroseconds(100);
digitalWrite(trigpin, LOW);
duration = pulseIn(echopin, HIGH);
distance = (duration / 2) / 29.1 * 10;
Serial.println(“mm:”);
Serial.println(distance);
lcd.setCursor(11, 1); // Position for the distance on the LCD
lcd.print(” “); // Clear the previous distance
lcd.setCursor(11, 1);
lcd.print(distance);
if ((distance > 60) && (distance <= 70)) {
lcd.setCursor(0, 1);
lcd.print(“Water Level: HIGH”);
digitalWrite(buzzerPin, HIGH);
delay(100);
} else if ((distance > 70) && (distance <= 80)) {
lcd.setCursor(0, 1);
lcd.print(“Water Level: HIGH”);
digitalWrite(buzzerPin, HIGH);
delay(100);
} else if ((distance > 80) && (distance <= 90)) {
lcd.setCursor(0, 1);
lcd.print(“Water Level: Medium”);
digitalWrite(buzzerPin, LOW);
delay(100);
} else if ((distance > 90) && (distance <= 120)) {
lcd.setCursor(0, 1);
lcd.print(“Water Level: Medium”);
digitalWrite(buzzerPin, LOW);
delay(100);
} else if ((distance > 120) && (distance <= 130)) {
lcd.setCursor(0, 1);
lcd.print(“Water Level: LOW”);
digitalWrite(buzzerPin, LOW);
delay(100);
} else if (distance > 140) {
lcd.setCursor(0, 1);
lcd.print(“Water Level: LOW”);
digitalWrite(buzzerPin, LOW);
delay(100);
}
}
[/dt_code]

