
ESP32 interfacing with DHT11 for beginner’s Projects
ESP32 interfacing with DHT11 for beginner’s Projects
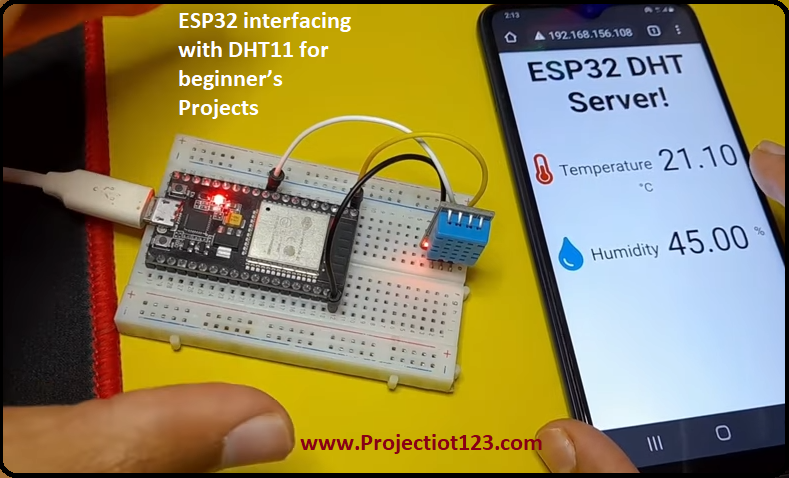
In this article, we will learn how to make ESP32 interfacing with DHT11 for beginner’s Projects.
In the last post, we learned how to make ESP32 with Bluetooth connectivity for beginner’s Projects.
Components Required:
- ESP32 Development Board:
- DHT11 Sensor:
- Breadboard
- Jumper wires
Working:
Interfacing an ESP32 with a DHT11 sensor is a common project in IoT (Internet of Things) applications. The DHT11 sensor measures temperature and humidity, while the ESP32 is a versatile microcontroller that can connect to the internet and perform various tasks.
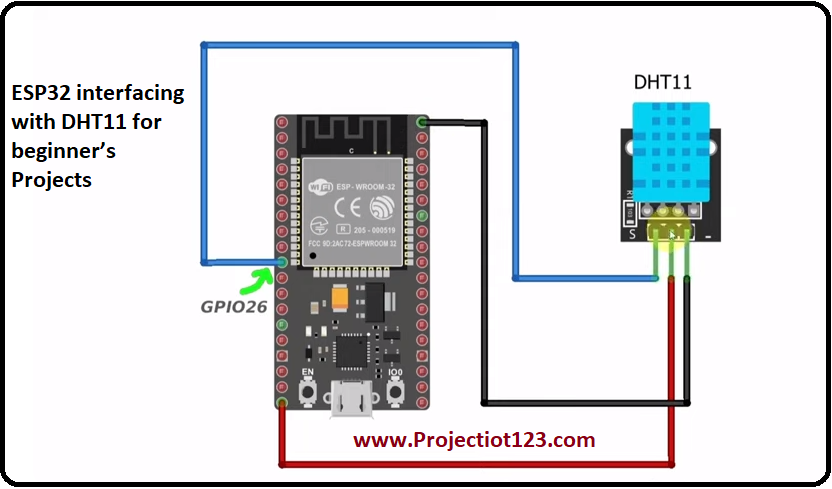
Circuit connections:
- Connect the VCC pin of DHT11 to the 3.3V pin of ESP32.
- Connect the data pin of DHT11 with any digital pin of ESP32.
- Connect the GND pin of DHT11 to the GND pin of ESP32.
Circuit Diagram:
Usages:
The ESP32 interfaced with a DHT11 sensor finds application in various scenarios due to its ability to collect temperature and humidity data and communicate it wirelessly.
Some common usages include:
- Home Automation:
- Weather Stations:
- Greenhouses/Agriculture:
- IoT Projects:
- Research and Education: